Growing your own food can be rewarding, but a little intimidating for someone who has never done it before. The good news is, it’s easy once you know the basics.
Below is a list of what you’ll need and step-by-step instructions on how to start your very own garden.
MUST-HAVE SUPPLIES
- Sturdy Shovel
- Gloves (there are lots of options specific to gardening)
- Potting Soil
- Mulch
- Fertilizer
- Seeds or Plant Starts
OPTIONAL AND USEFUL
- Hand Trowel
- Digging Fork
- Wheelbarrow
- Garden Rake
- Garden Hose
- Sprinkler or Soaker Hose
- Knee Pads
- Potting Soil Scoops
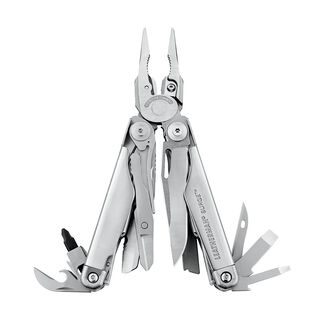
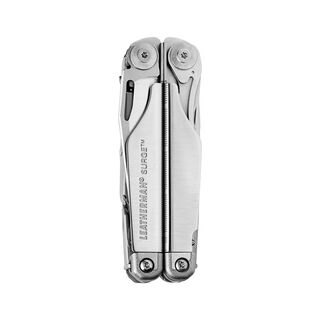
- Serrated and Straight-edge Blades (Available on the Leatherman® Surge)
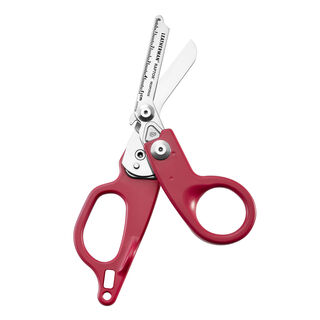
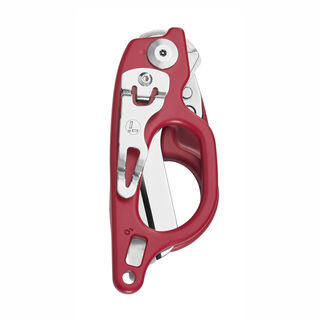
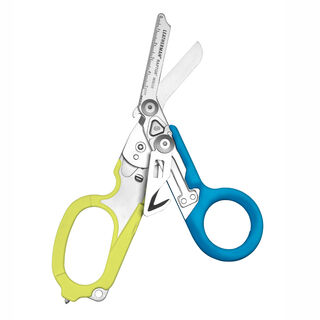
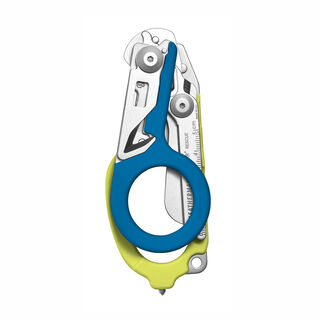
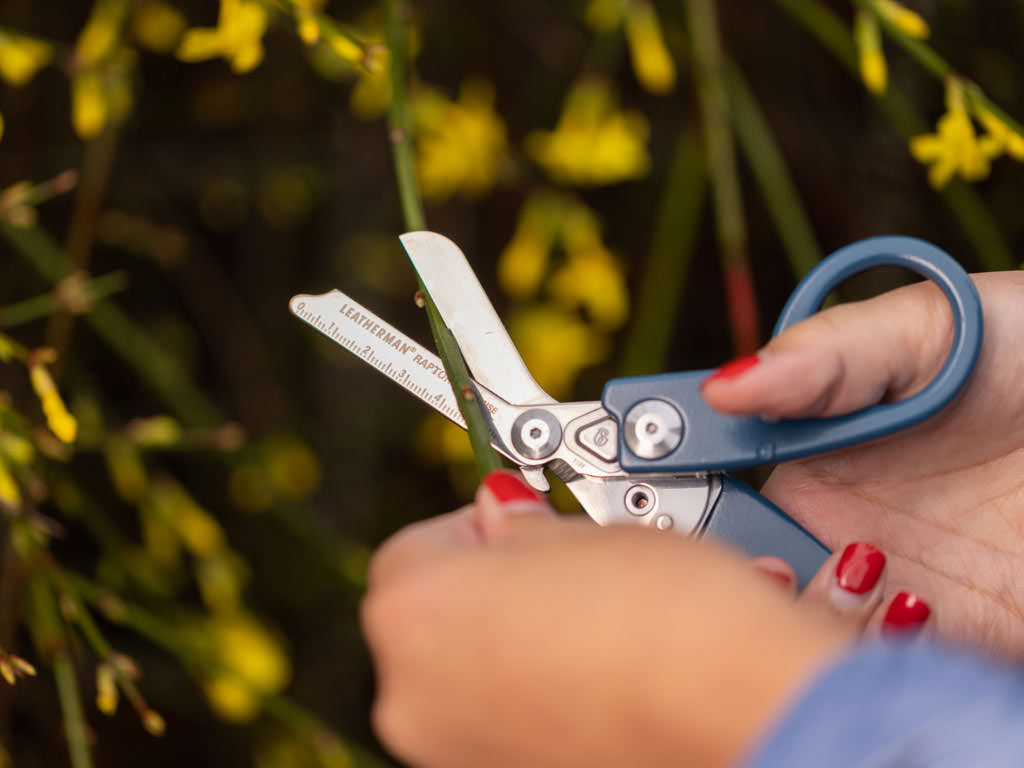
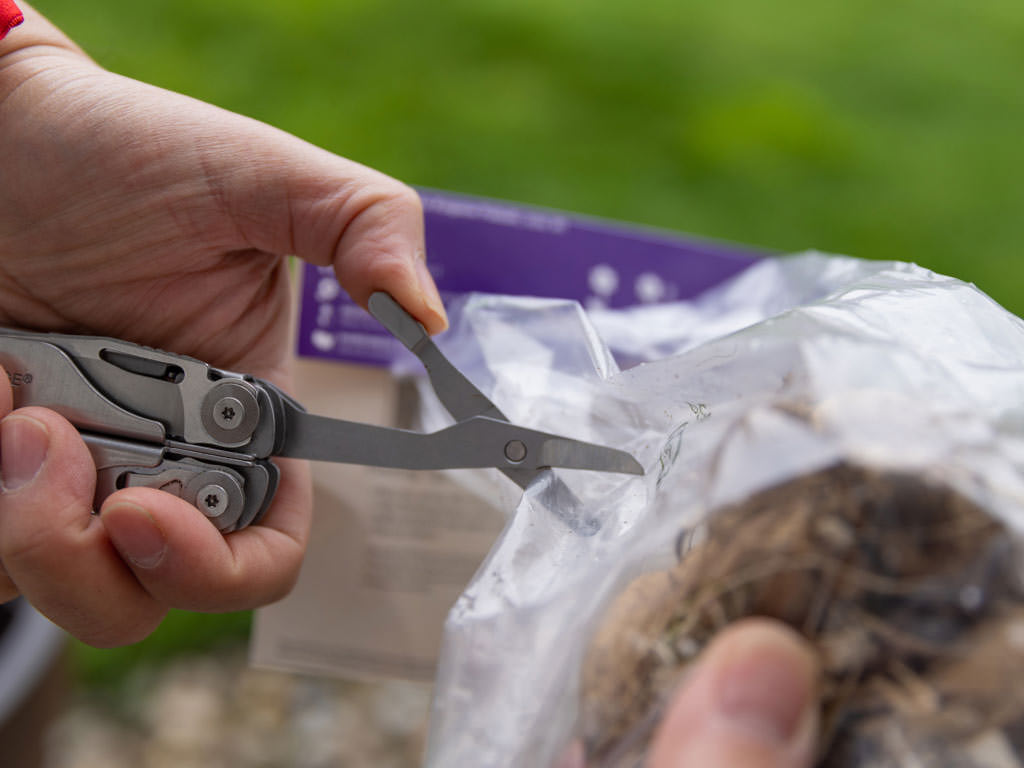
- Shears (like the Leatherman® Raptor Response)
- Small Saw or Soil Knife
GARDENING HOW-TOS
Step 1: Determine your climate zone.
Knowing your growing season and which plants will do best in your region is the first step to a successful garden. The USDA has a Plant Hardiness Zone Map that uses your ZIP code to help you figure out your climate. Once you know that, you can do a little research (or ask at your local plant nursery or garden store) and find out which herbs, vegetables, fruits, and flowers thrive where you live. Pro tip: When you look for seeds, the packets will be labeled with the number corresponding to your hardiness zone.
Step 2: Test your soil.
This step is worth the extra effort if you’re planning to plant your garden right into the ground. Contact your local USDA cooperative extension service office, and for a small fee, they’ll identify the makeup of your soil, determine PH levels and nutrient deficiencies (which they can help tell you how to fix), and discover if there are any toxic things in your soil like lead or arsenic.
Step 3a: Build a raised garden bed.
If you find out that there are toxic substances in your soil, build a garden box instead. Or skip the soil test altogether and just start with a garden box. Check out our blog on building your own garden beds for more pro tips.
Step 3b: Make your garden bed.
If you opt to just plant into the ground, you’ll want to find a level spot which gets 6-8 hours of sunlight a day. Pull weeds (be sure you get the roots) and clear out other plants. If you’re clearing a lawn, consider renting a gas-powered sod cutter to get rid of the grass. If you don’t want to till (which we don’t recommend if it can be avoided because you can upset the worms and other helpful creatures below the topsoil), spread a four-inch thick layer of compost over the area.
Step 4: Get supplies.
Depending on what you need and what kind of garden you plan to create, the list above is a good place to start. An all-in-one Leatherman multi-tool combines a lot of gardening favorites like a knife to make precise cuts when harvesting vegetables, shears for pruning, a small saw to access tight spaces, and serrated blades to cut roots, dig out weeds, or pruning. Multi-tools also help you cut materials for your garden like landscape fabric or maintaining your other equipment.
Step 5: Plant seeds with care.
Make sure they’re spaced apart appropriately. Pair up certain plants with one another to help them both (search online to find companion planting charts or guides of compatible vegetables). Be sure to plant them deep enough in the soil (seed packets or planting instructions on starts should help with this).
Step 6: Weed, Water & Repeat!:
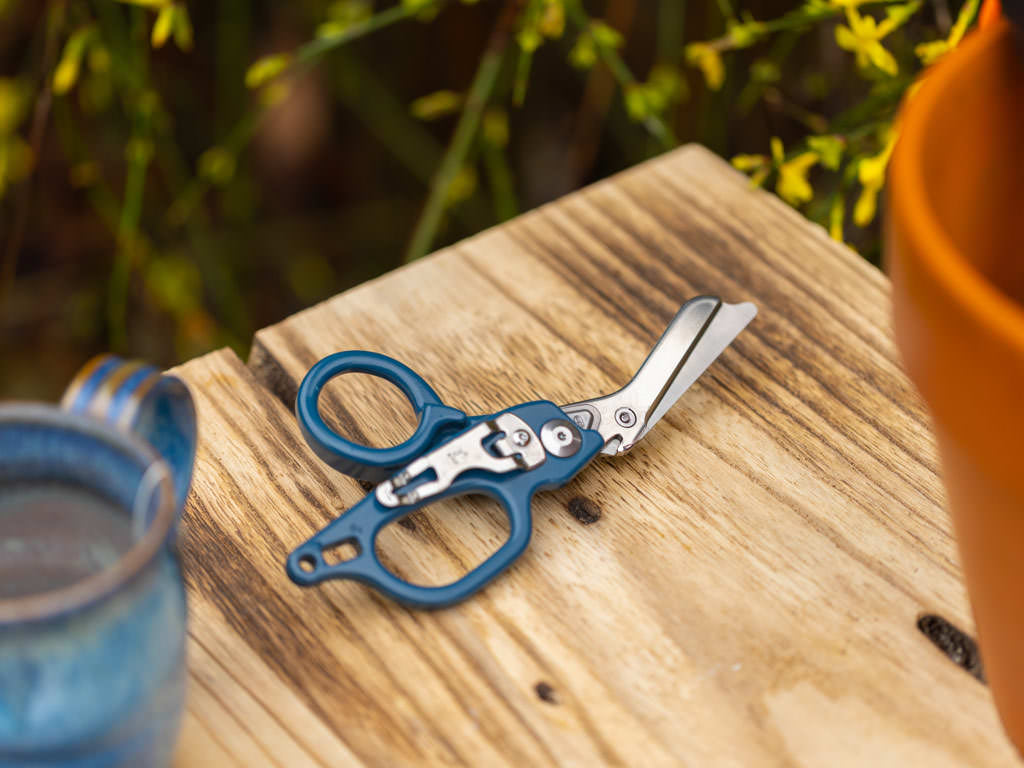
Water your garden bed at least 1 inch deep a week (more or less depending on climate and weather). Add stakes to your plants for support. Trim, cut and harvest your produce with the Raptor® Response.
HARVEST TIME
A ripe tomato warmed by the sun. The crisp, fresh taste of peas straight from the pod. The satisfying snap of green beans. Once you’ve toiled all season long on your garden, all that’s left is to enjoy the fruits of your labor. And if you’ve got a bumper crop, maybe you want to try your hand at canning or pickling. But that’s another blog….


