It’s that time of year in the Rockies; the days are longer and warmer, and you hung up your snowboard a while ago.
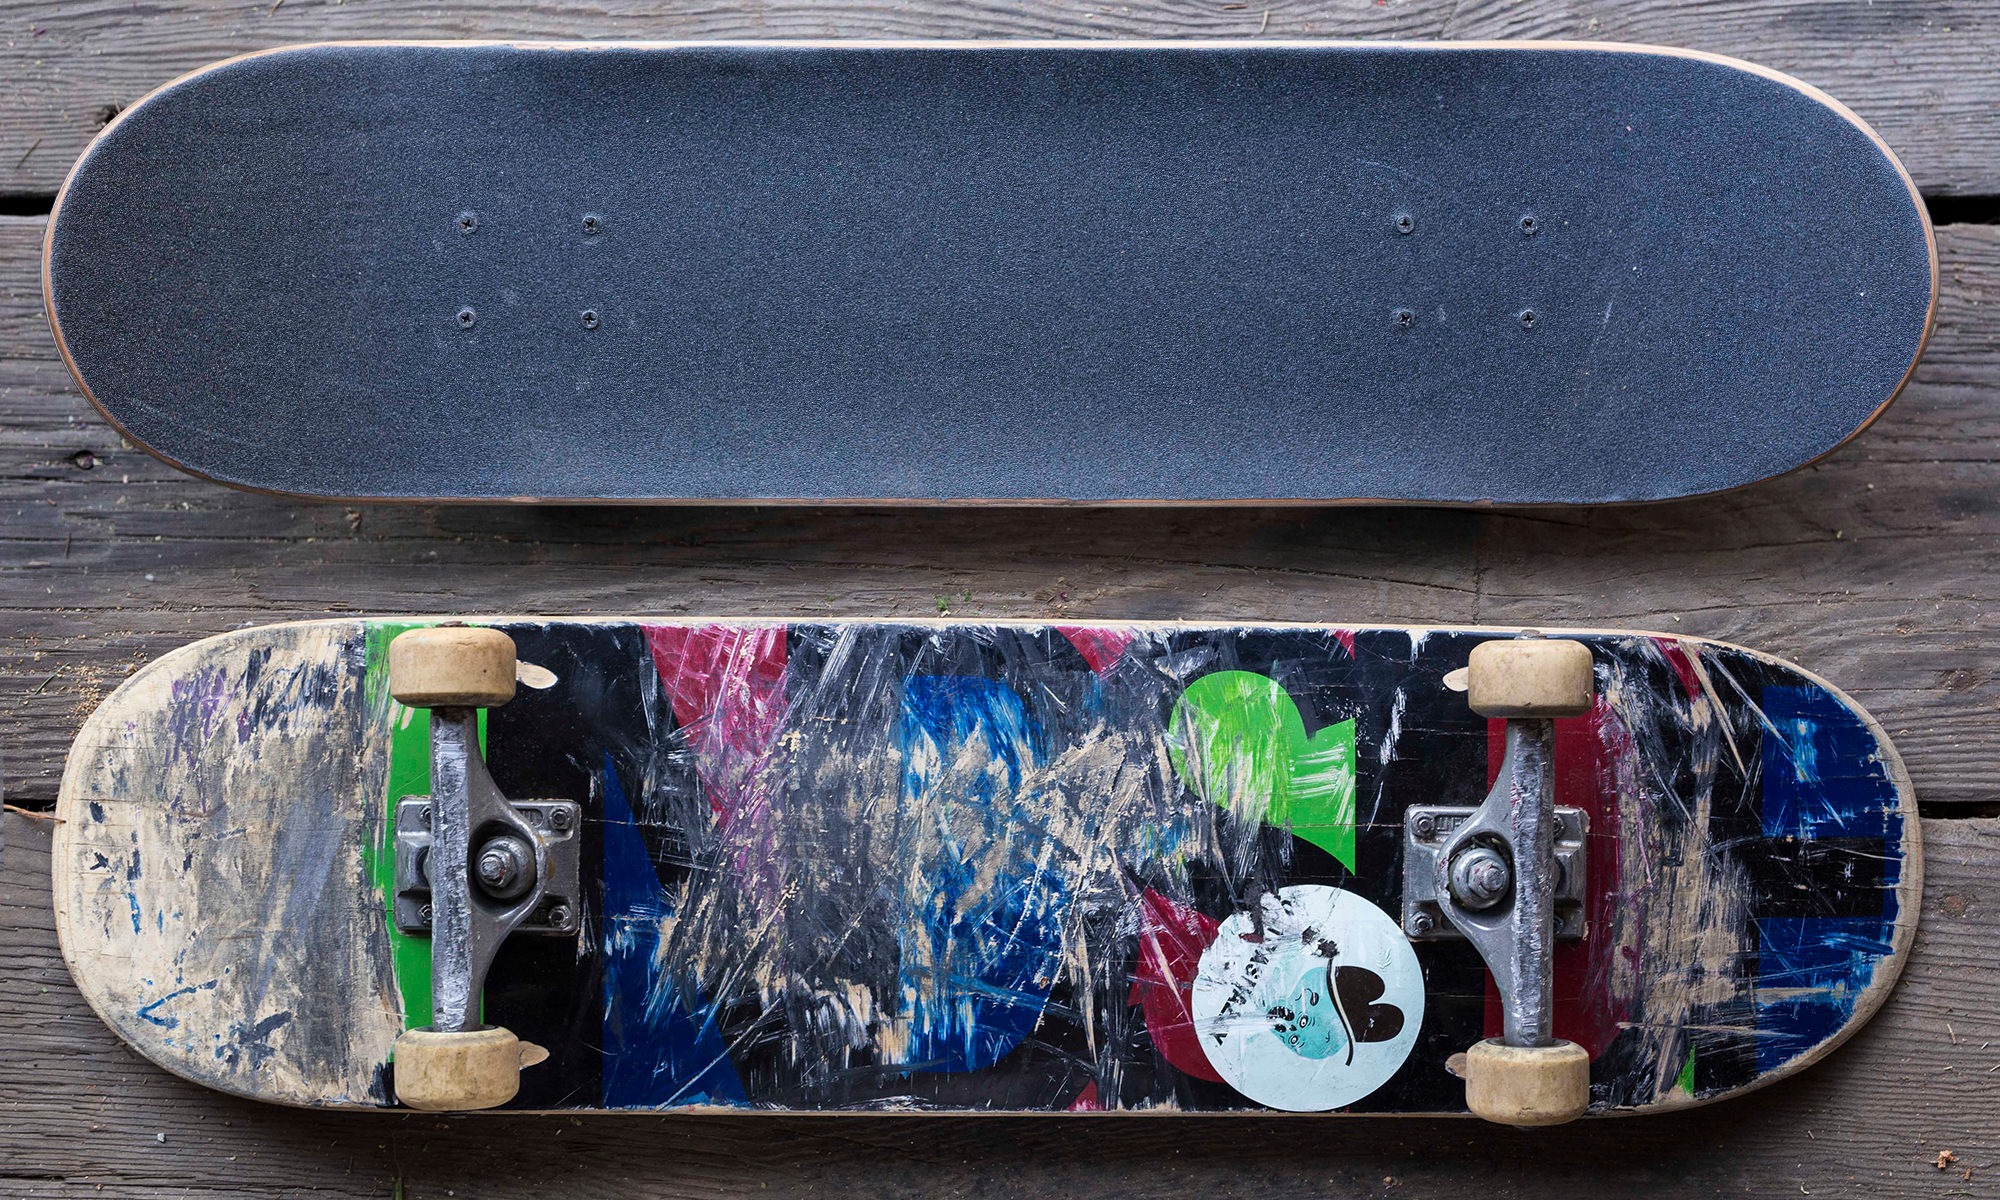
For me, that means it’s skateboarding season. When I dug my board out of the closet recently, I realized it was looking pretty crusty: the griptape was worn, the bearings were fried, and most importantly, it had lost its pop—the key ingredient to a good ollie. I decided it was time to swap out my deck for a freshy from the local shop.
This is not a complicated procedure, but you do need a few tools for the job. Luckily, the Leatherman Jam+Style PS has what you need.
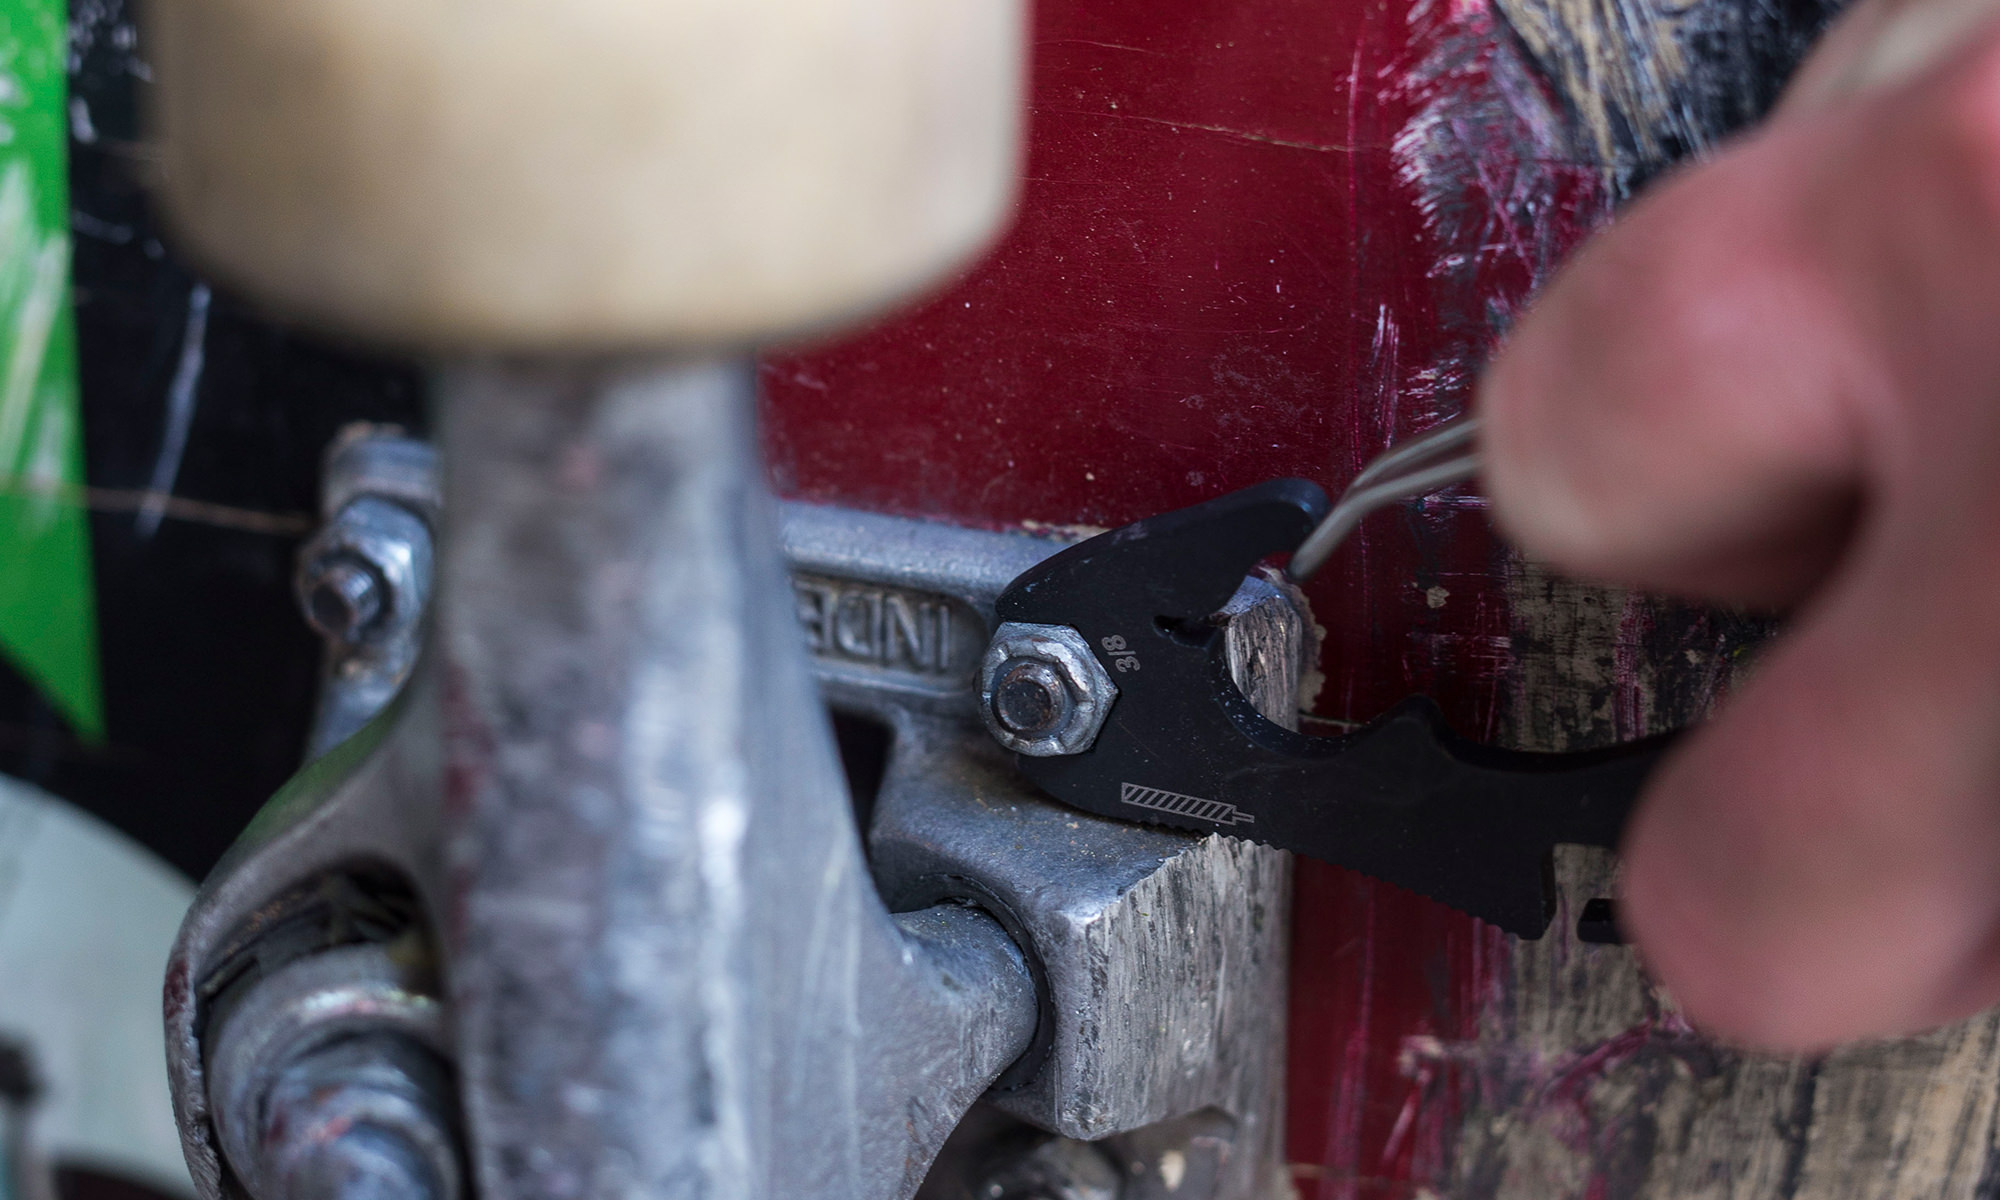
Step one is to take the trucks off your old board using a phillips screwdriver and a 3/8" open wrench.
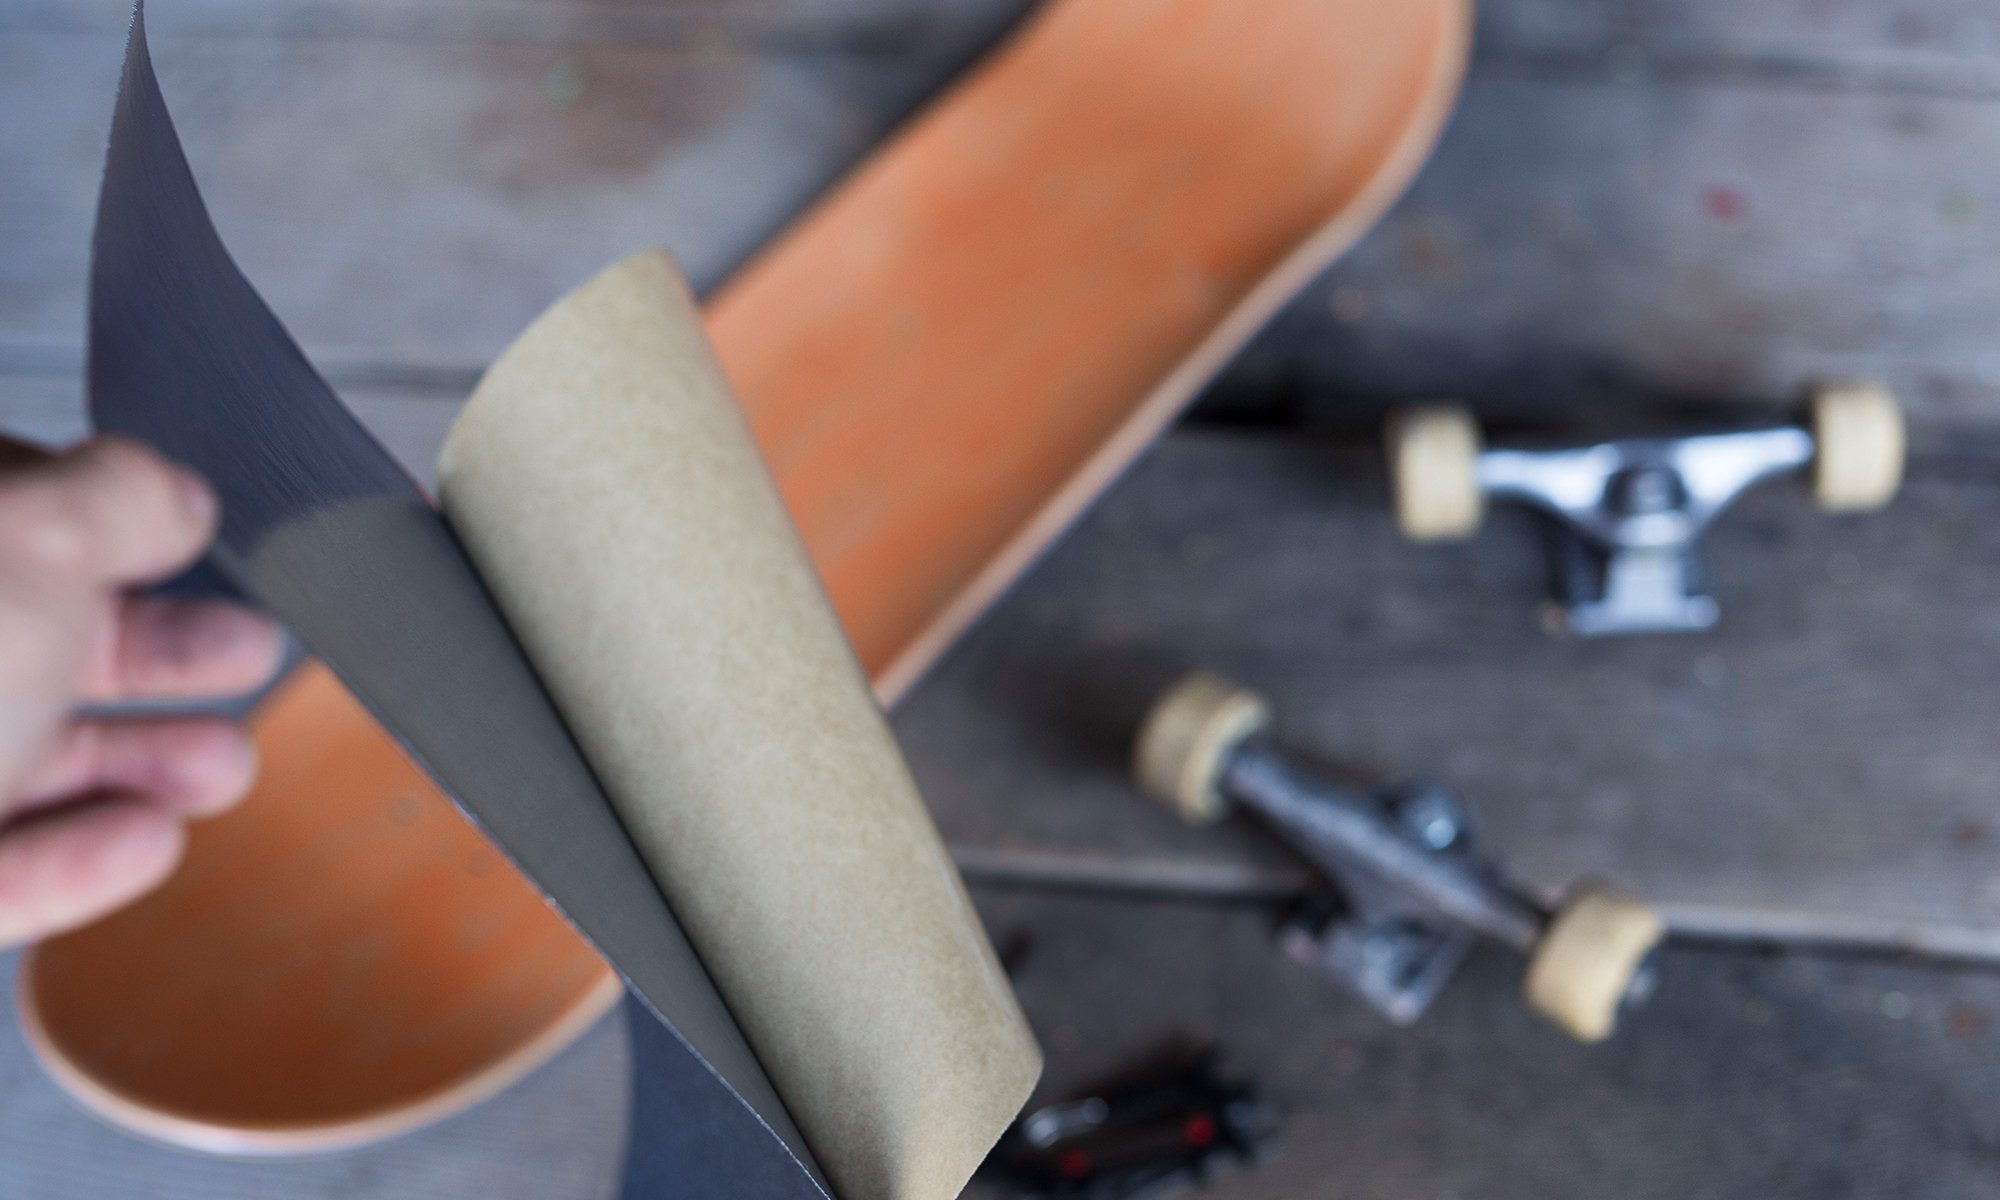
Step two is to put the grip tape on your new board. Carefully remove the paper backing off the grip tape, being sure that the sticky side doesn’t fold back on itself.

With the board on a flat surface, carefully align the new grip tape over the board from nose to tail. Starting at one end of the board, slowly stick the tape to the top of the deck carefully pushing all the air bubbles as you go the other side. Gently pat down the grip tape to make sure it is totally attached to the deck. Take the paper you peeled off and put it on top of the grip tape, applying pressure to help get out any extra air bubbles.

Step three is to go along the perimeter of the board using the file on the Jam tool and file the edge of the against the deck.
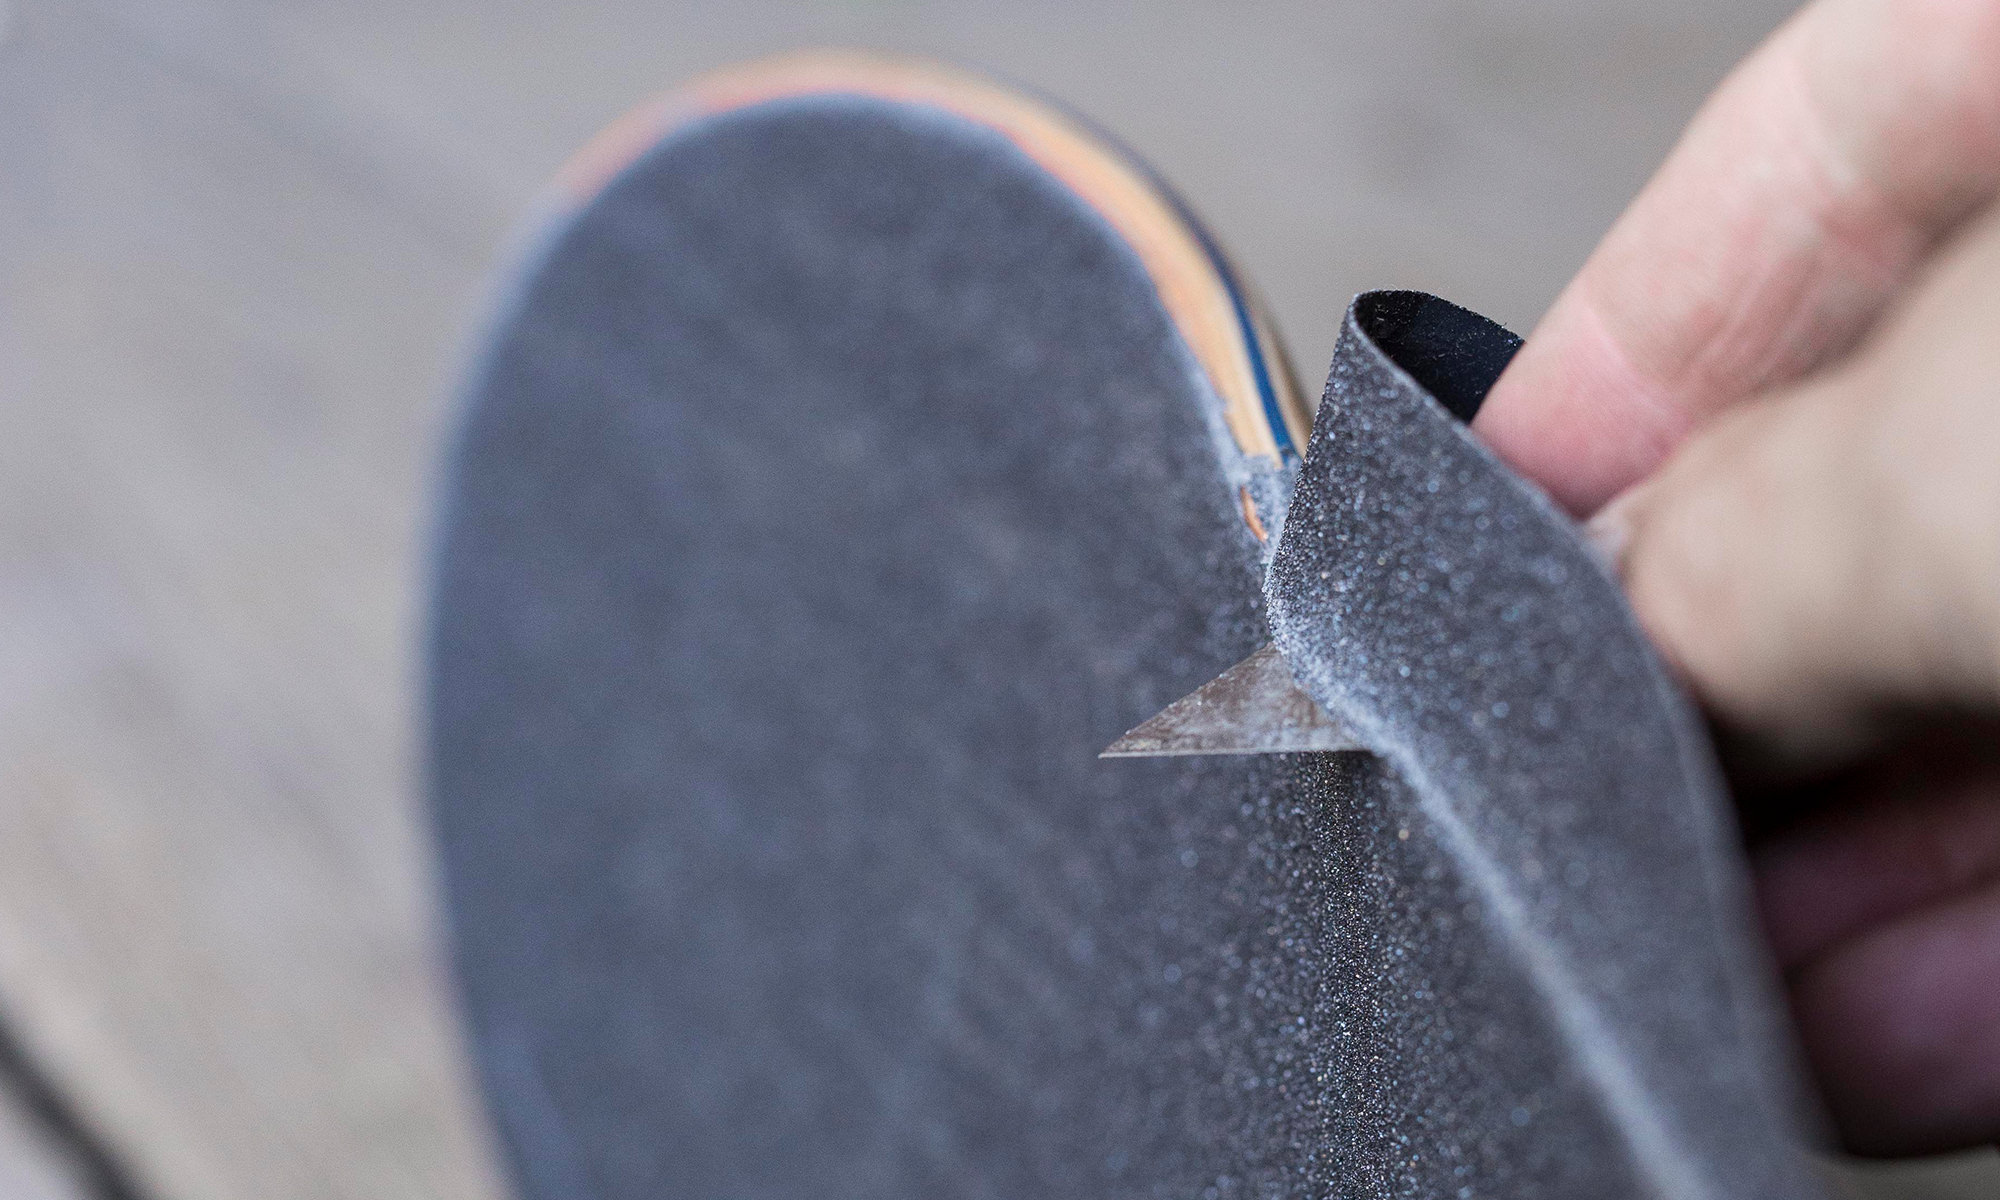
Step four is to use a sharp razor blade and slowly cut the grip tape along the edge of the board while using your free hand to pull the excess grip tape as you go around.
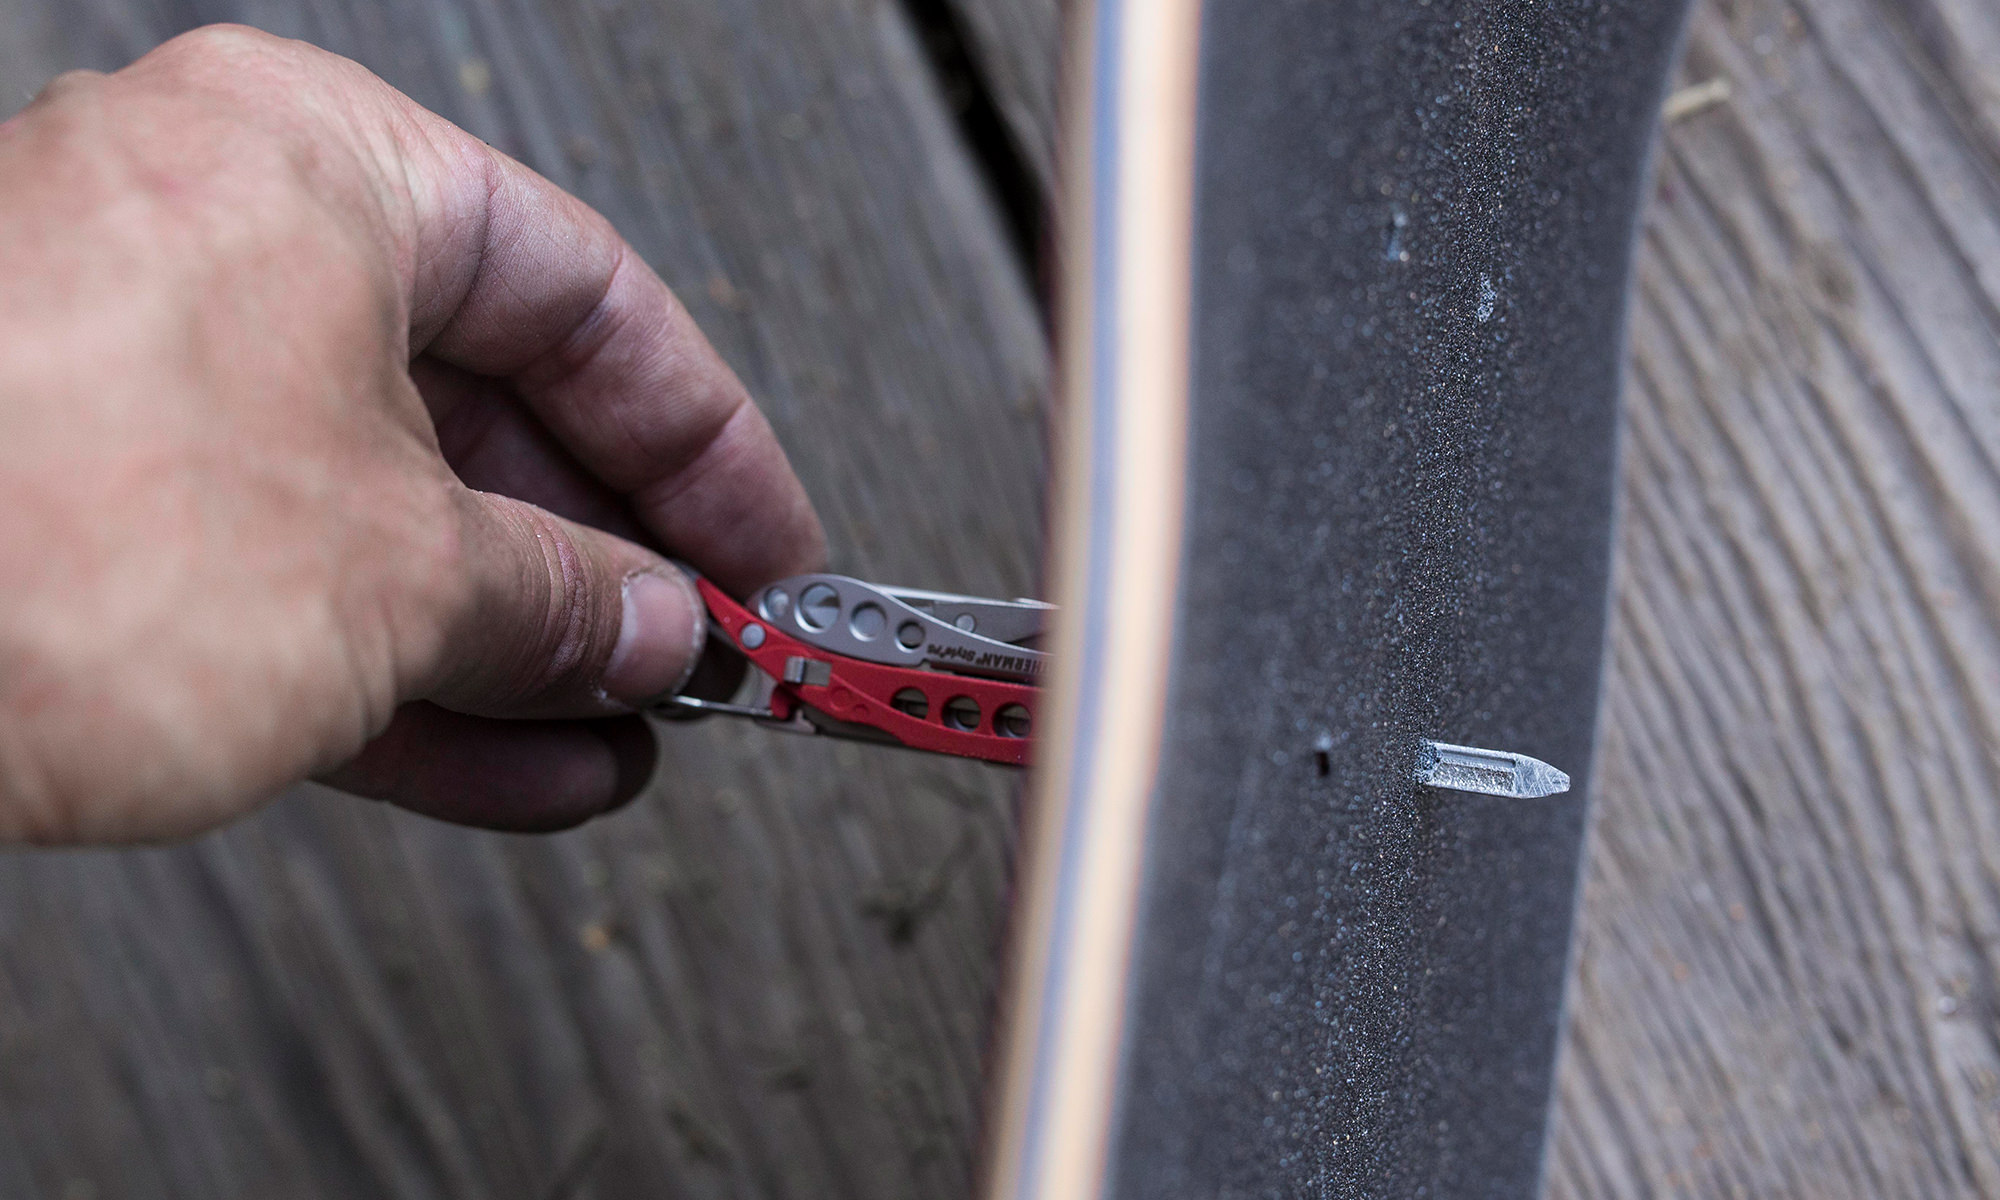
Step five is to take a scrap of grip tape and and sand off any rough spots along the edge of the deck to give it a clean look. Poke the eight holes through the grip tape where your mounting hardware goes.
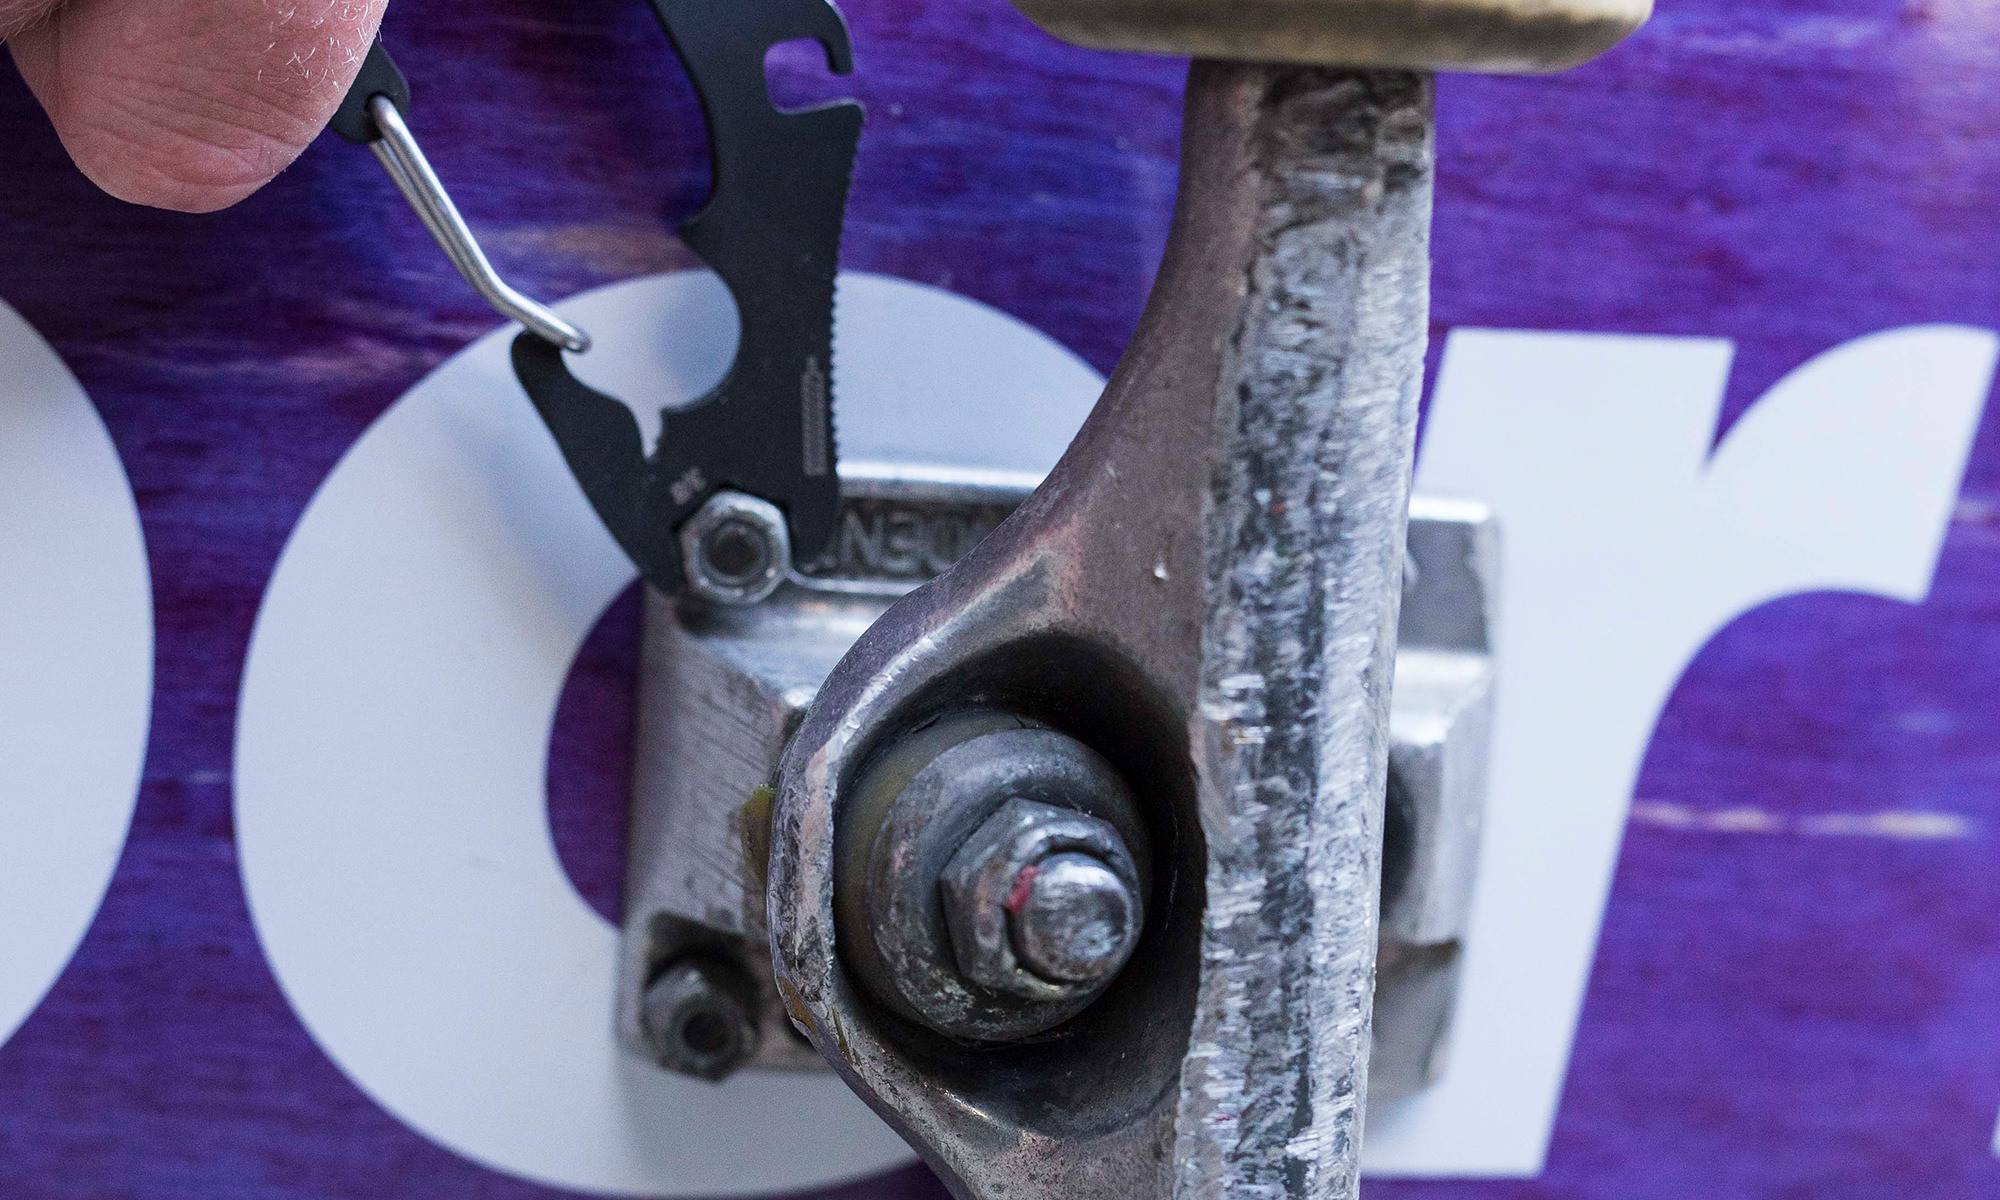
Lastly, use your phillips screwdriver and the 3/8" open wrench on your Jam tool to put it all back together.
Voila! Time to go for a rip!
